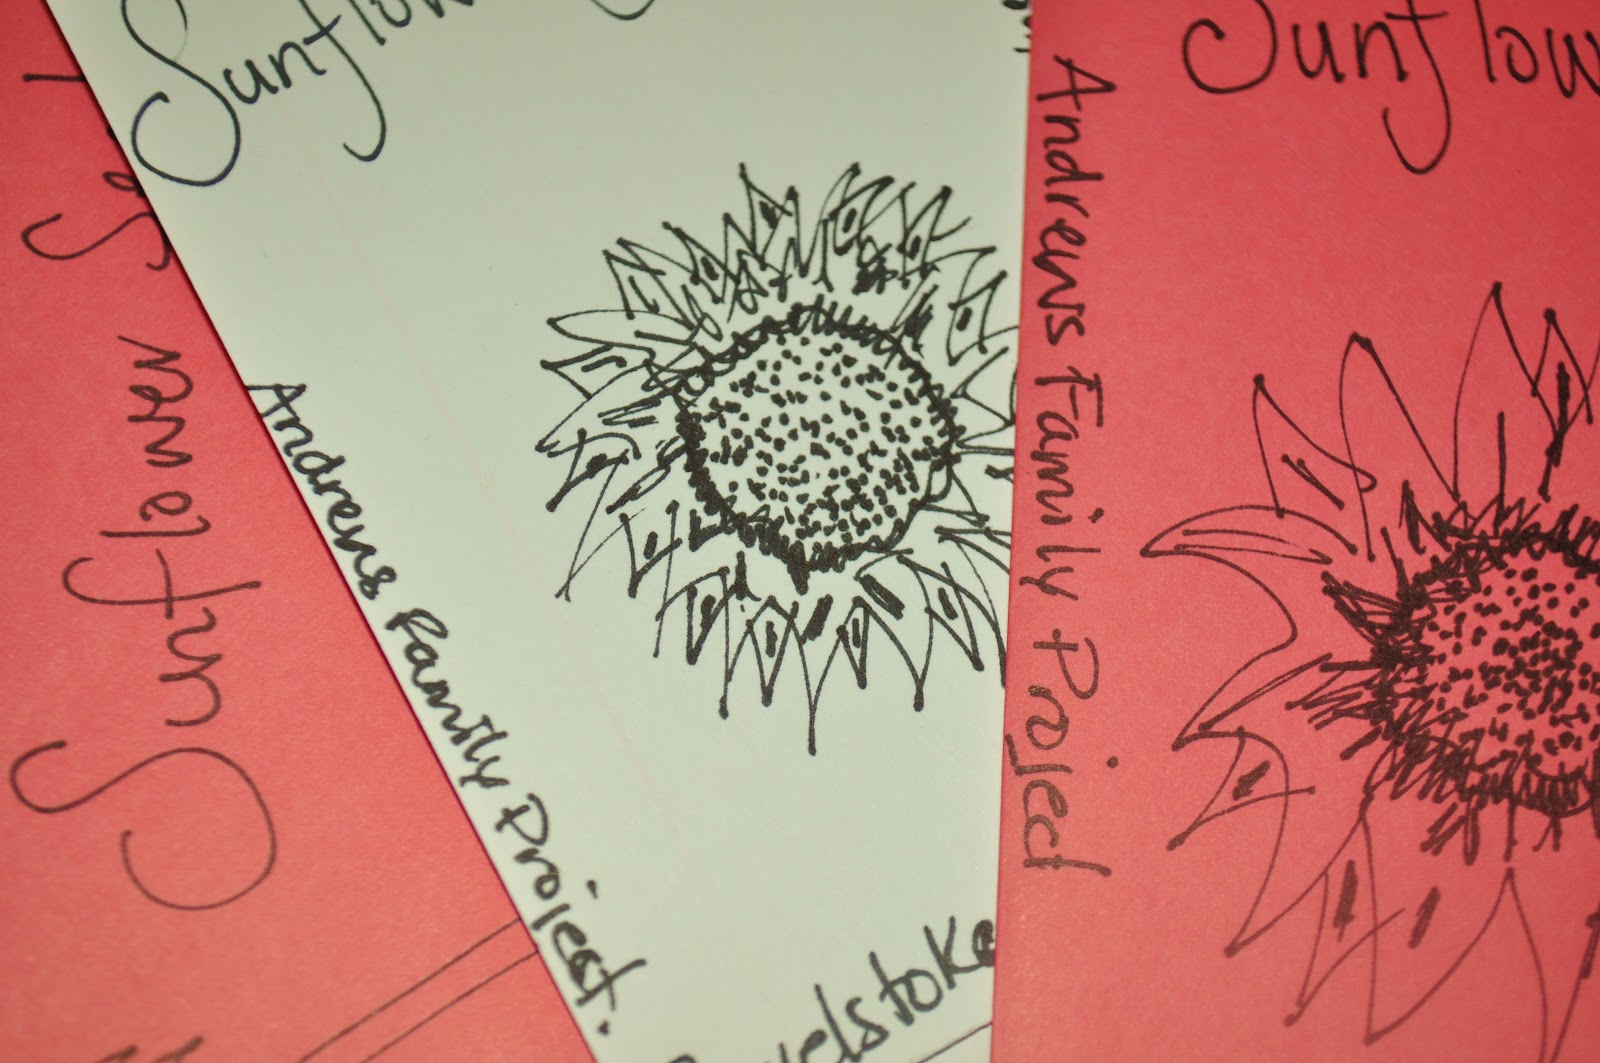
Sunflowers are probably the most loved flower....I know for me they are the first on my list!
This dates back years and years ago when a brown envelope arrived on my doorstep with a bright yellow sunflower gently stuffed in it from.......A boy! Why, because he missed me:) From that day on it didn't matter what kind of roses, mixed bouquets or bunches of I am sorry flowers I have received that sunflower has always remained my favourite. I have grown sunflowers before on the odd year....but this year they seemed to just flourish in our petite jardin. This is the year that I would harvest these beauties as they grew so beautifully. With our main growing pleasure of vegetables this year the sunflower was one of the only flowers we had in our yard and yielded quite a bit of our attention!
The unfolding of the bloom, with it's feathery soft petals is another layer of beauty.
I had no structured plan on deciding where to plant the seeds. We have a fenced backyard and thought it would look nice to plant the flowers along this wood fence as our backyard gets a fair amount of sun.....until. The large obstruction of a shed was build by our neighbour. This did cut off the angle of sunshine that was suppose to reach this area. (I am sure that it is also way out of proportion to building regulations of town) But that didn't stop my hearty little plants from reaching out in search of the sun. These little beauties grew out instead of up. The 2in stem grew along the ground and rooted itself securely. The other bunch of seeds were planted by our huppah the entrance way to the vegetable garden.
They stood about 2-3 feet high, perfect height for the kids to explore this species. Apparently it also made it a challenge to mow the lawn in this area!?!
Sunflowers by our wedding huppah. Both our huppah and pooch have seen many miles. I will always have this structure as part of my garden. My husband made this for me as a wedding present, he carried it on top of the Jeep from Ontario to the FL Keys for our wedding and back, it has moved Northern Ontario and now it resides out west as an entrance to our vegetable garden and shelter for the kids sand box.
Just one of the visitors to our garden, these beauties attract the fuzziest and bumbly bees around! The mama of all sunflowers, the head of this plant was huge.
Step 1. Once all of the leaves fall off, it is time for the sun to do it's job. One way of harvesting is once the back of the head turns from green to brown and has dried out, you can test if the seeds are ready. What I did was every couple days I would pick one and check the seed size. Another sure test is if the shell is white with black stripes. A way to early harvest is once the seeds appear to be ready you can chop off the head with a 2-3 foot stem and hang inside to dry. This is the method I chose. This method was more suitable for me because of the visiting birds, bears and other creatures looking to store up for the dark months of the year!
I did attach paper bags over the heads while drying to prevent any lost seeds to the floor. I did take a picture but it wasn't pretty to post :)
Step 2. Once the head is dried out I shortened the stem and broke the head in to pieces. I bent it back and ran my hand over the seeds and they popped out right into a paper bag
It remindes me of honey comb
Step 3. I transferred the seeds to a earthen ware roasting pan .... thanks to Kim it is part of my hand-me-down kitchen collection from friends that move and can't bring the extras! I left these seeds out to dry on the stove-top. I didn't use any direct heat, only the heat from what ever was in the oven. This process I have left the seeds in this pan for about 4-5 days.
Step 4. If you are harvesting to eat and want them salty....soak in a salt-water mixture over night. I recommend a sea salt...that would be my choice. Next day: drain and roast for 10-15 mins @ 350. cool and eat.
I am using my seeds to grow and share. Now that they are moisture free I will put them in an envelope and store in a dry dark place.
Our other furry family member basking in the autumn sun, Miso. Or otherwise know as his name change to Neeno the handsome cat!
In celebration for my new blog I am holding my first contest-givaway! Instructions as follows.......
"follow" my new blog page, leave a comment and your name will be put in a draw. I will collect all names and draw out a name and you win.........a seed selection, homegrown and harvested by moi! Contest will close Tuesday evening!
I will then post who the lucky person is and I will send you (in the snail mail) some fabulous seeds for your springtime planting:)
cheers,
Andi
P.S. I still have that sunflower packed in the brown envelope!